안녕하세요?
해외에 이런 프로젝트가 유행하여 설치를 진행하고 테스트 해보려고 합니다.
https://github.com/tgdrive/teldrive
아래 내용은 실험적인 내용이며, Telegram API 요청을 사용하는 것이기 때문에 오 남용 시, 계정이 삭제될 수 있습니다. 참고 바랍니다.
1. 텔레그램 API 획득
아래 주소에 로그인하여 API 를 생성합니다.
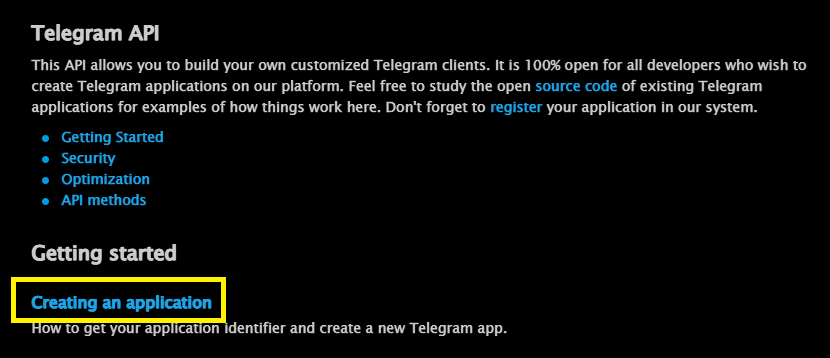
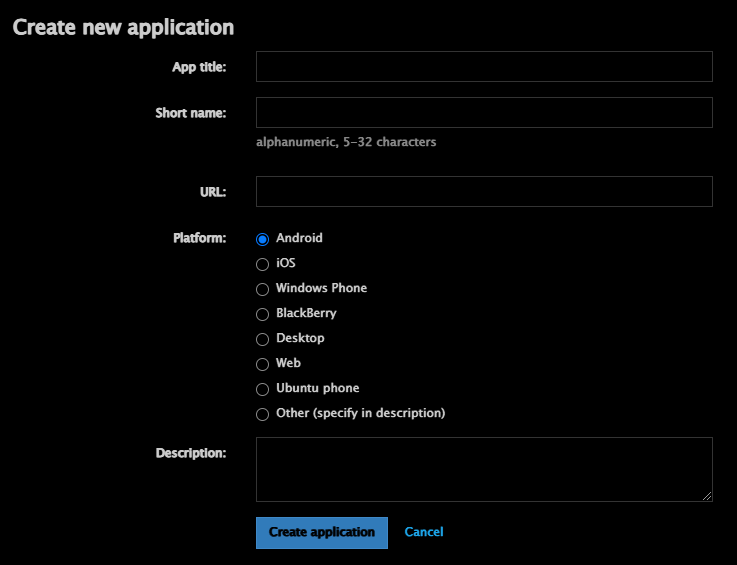
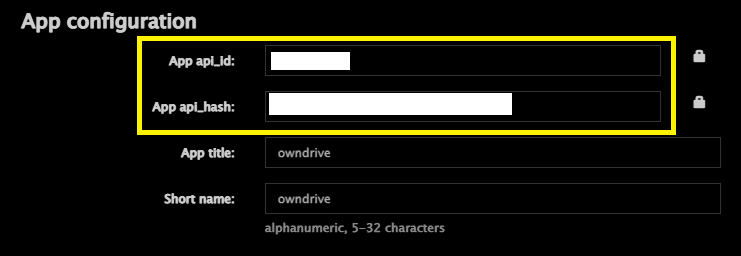
appid 와 hash 를 복사합니다.
2. PostgreSQL DB 설치
먼저 db 저장 경로를 생성합니다.
| root@debian:/opt# mkdir teldrive root@debian:/opt# cd teldrive/ root@debian:/opt/teldrive# mkdir db |
그리고 teldrive network 를 하나 생성합니다.
| root@debian:/opt/teldrive# docker network create teldrive |
다음으로 postgresql 컨테이너를 하나 생성합니다.
| root@debian:/opt/teldrive# docker run -dit --network teldrive --restart unless-stopped --name teldrive_db -e POSTGRES_USER=teldrive -e POSTGRES_PASSWORD=teldrive -e POSTGRES_DB=postgres -v /opt/teldrive/db:/var/lib/postgresql/data ghcr.io/tgdrive/postgres:17-alpine |
정상 동작하는지 확인합니다.
| root@debian:/opt/teldrive# docker logs -f teldrive_db --tail 5 2025-01-05 13:46:49.351 UTC [1] LOG: listening on IPv6 address "::", port 5432 2025-01-05 13:46:49.365 UTC [1] LOG: listening on Unix socket "/var/run/postgresql/.s.PGSQL.5432" 2025-01-05 13:46:49.380 UTC [74] LOG: database system was shut down at 2025-01-05 13:46:49 UTC 2025-01-05 13:46:49.392 UTC [1] LOG: database system is ready to accept connections 2025-01-05 13:46:49.404 UTC [77] LOG: pg_cron scheduler started |
3. teldrive 컨테이너 구동
먼저 teldrive 폴더를 하나 생성합니다.
| root@debian:/opt/teldrive# mkdir teldrive |
그리고 docker compose yaml 구성을 확인합니다.
(docker compose 를 사용하지 않는 이유는 이정도 사이즈는 쉘에서 간단히 실행이 가능하기 때문입니다.)
| root@debian:/opt/teldrive# wget https://raw.githubusercontent.com/tgdrive/teldrive/refs/heads/main/docker/compose/teldrive.yml |
내용은 아래와 같습니다.
| root@debian:/opt/teldrive# cat teldrive.yml services: teldrive: image: ghcr.io/tgdrive/teldrive restart: always container_name: teldrive networks: - postgres volumes: - ./config.toml:/config.toml - ./session.db:/session.db ports: - 8080:8080 networks: postgres: external: true |
위 내용을 참고하여 docker run 구문을 작성합니다.
다음으로 설정파일을 하나 작성해야합니다.
아래 예제를 보고 작성하시면 됩니다.
https://teldrive-docs.pages.dev/docs/getting-started/usage#config-toml-for-local-db
| root@debian:/opt/teldrive/teldrive# touch config.toml root@debian:/opt/teldrive/teldrive# vi config.toml [db] data-source = "postgres://teldrive:teldrive@teldrive_db/postgres" [jwt] secret = "" [tg] app-id = "" app-hash = "" |
컨테이너를 아래와 같이 시작합니다.
| root@debian:/opt/teldrive/teldrive# touch session.db root@debian:/opt/teldrive/teldrive# ls config.toml session.db |
| root@debian:/opt/teldrive/teldrive# docker run -dit --name teldrive --network teldrive --restart unless-stopped -v /opt/teldrive/teldrive/config.toml:/config.toml -v /opt/teldrive/teldrive/session.db:/session.db -p 8081:8080 ghcr.io/tgdrive/teldrive |
정상적으로 실행중인지 아래와 같이 확인합니다.
| root@debian:/opt/teldrive# docker logs -f teldrive --tail 10 2025/01/05 14:00:50 OK 20240728154309_modify.sql (4.05ms) 2025/01/05 14:00:50 OK 20240802212949_uuid.sql (3.69ms) 2025/01/05 14:00:50 OK 20240802213957_alter_table.sql (65.38ms) 2025/01/05 14:00:50 OK 20240803003234_index.sql (6.03ms) 2025/01/05 14:00:50 OK 20240912164825_table.sql (10.31ms) 2025/01/05 14:00:50 OK 20240915100057_modify.sql (3.46ms) 2025/01/05 14:00:50 OK 20240915121635_function.sql (2.62ms) 2025/01/05 14:00:50 OK 20241213121739_index.sql (74.96ms) 2025/01/05 14:00:50 goose: successfully migrated database to version: 20241213121739 05/01/2025 02:00 PM INFO Server started at http://localhost:8080 |
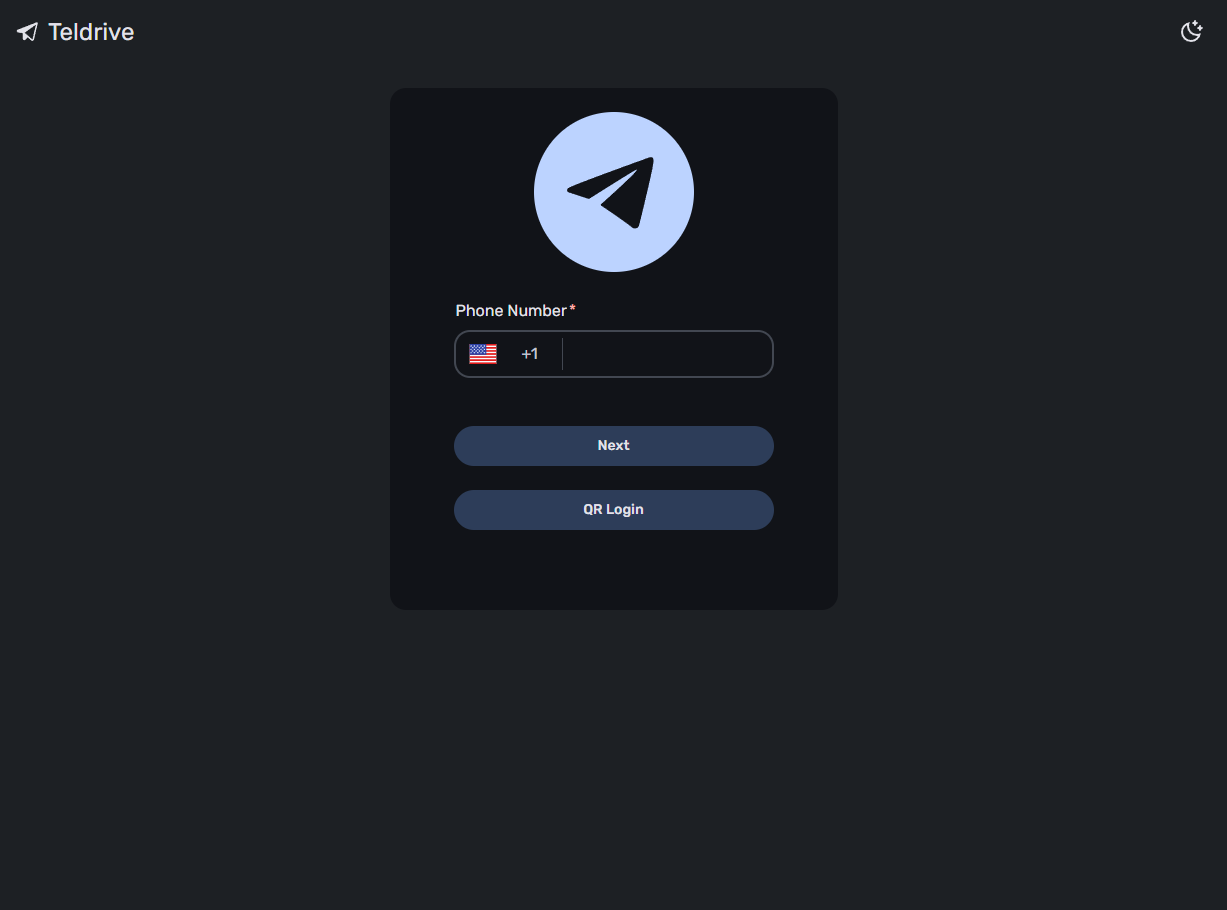
8080포트를 8081로 포워딩 했으니 webui 에서 확인해봅니다.
4. 로그인 및 세팅하기
텔레그램 계정으로 로그인하면 아래와 같이 UI가 나옵니다.
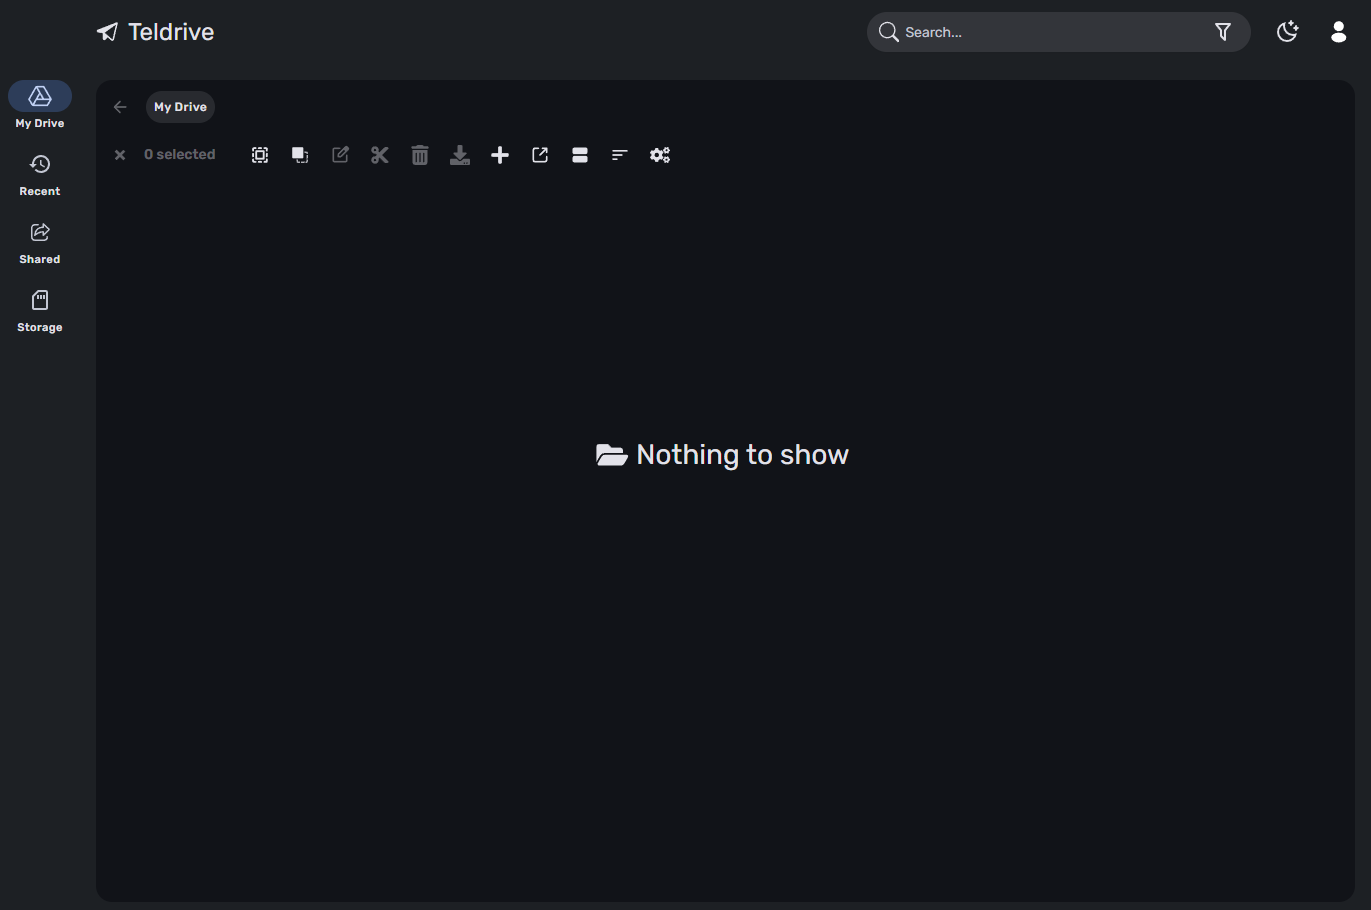
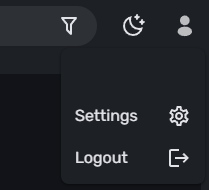
여기서 설정으로 이동합니다.
텔레그램은 1개 업로드 용량 제한이 2GB 입니다. 채널에 파일을 업로드 하는 것이기 때문에 채널 메시지 최대 메시지 저장을 초과하면(20만개로 알려져 있음) 애매한 부분이 생깁니다.
그래서 한 파일에 대해서 많은 메시지가 생성되지 않도록 하기 위해 2GB로 세팅합니다.
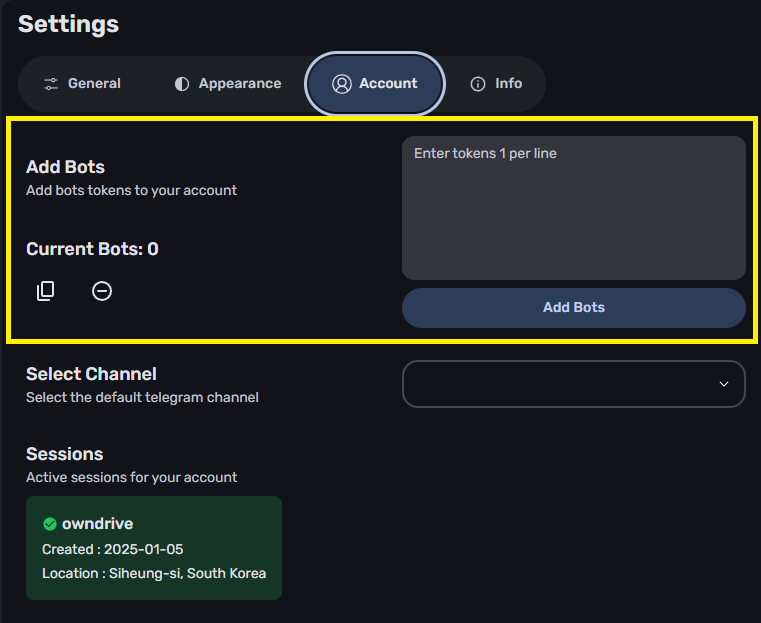
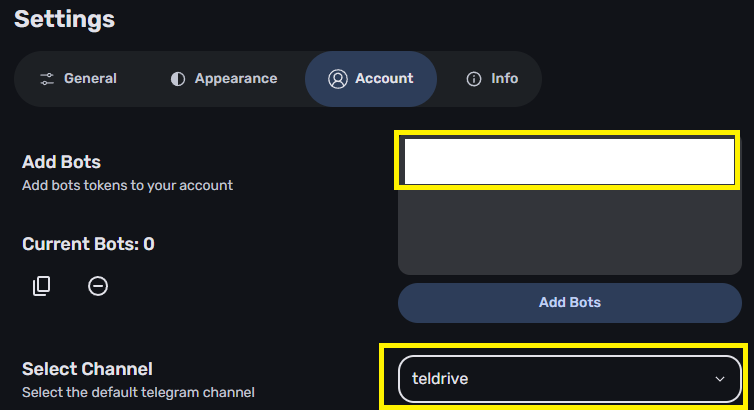
어카운트 메뉴로 이동하여 봇토큰을 넣어줍니다.
봇 생성 및 토큰 발행은 아래를 참고하시길 바랍니다.
https://core.telegram.org/bots/tutorial
그리고 채널을 하나 생성하여 해당 봇을 관리자로 추가해주고 아래 과정을 진행해야합니다.
5. 파일 업로드
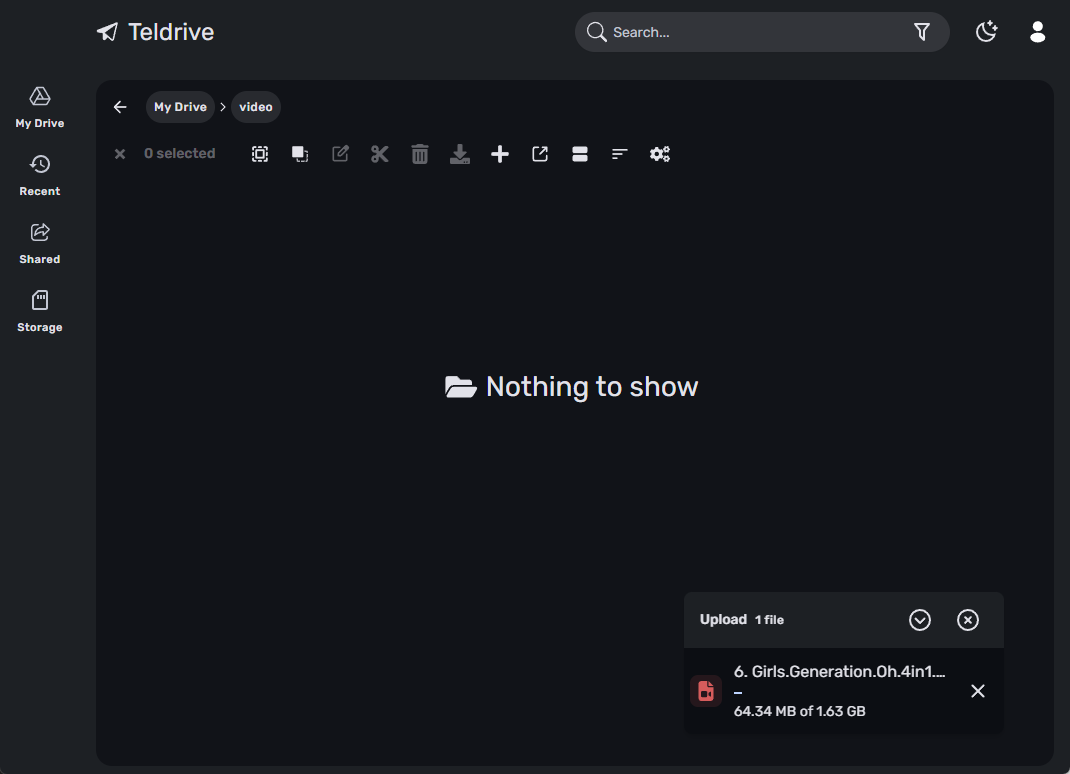
총 3개의 파일을 업로드 하였습니다.
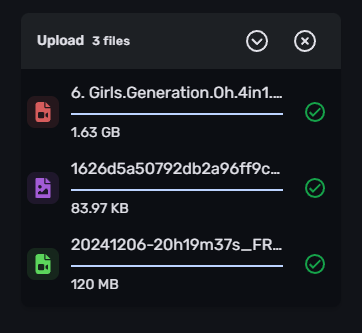
속도는 7~10 MB/s 정도 나오네요.

업로드한 파일은 아래와 같이 채널에 나타납니다.
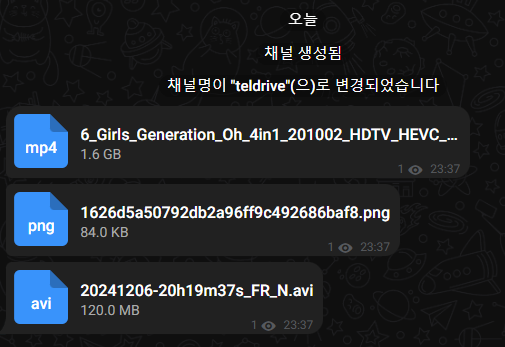
폴더 구조는 db에 저장되고 파일에 대한 링크만 따로 구성하는 방식입니다.
다운로드 속도는 아래와 같습니다.

스토리지 탭이 있는데 현 가지고 있는 파일에 대해 그래프가 표시되네요.
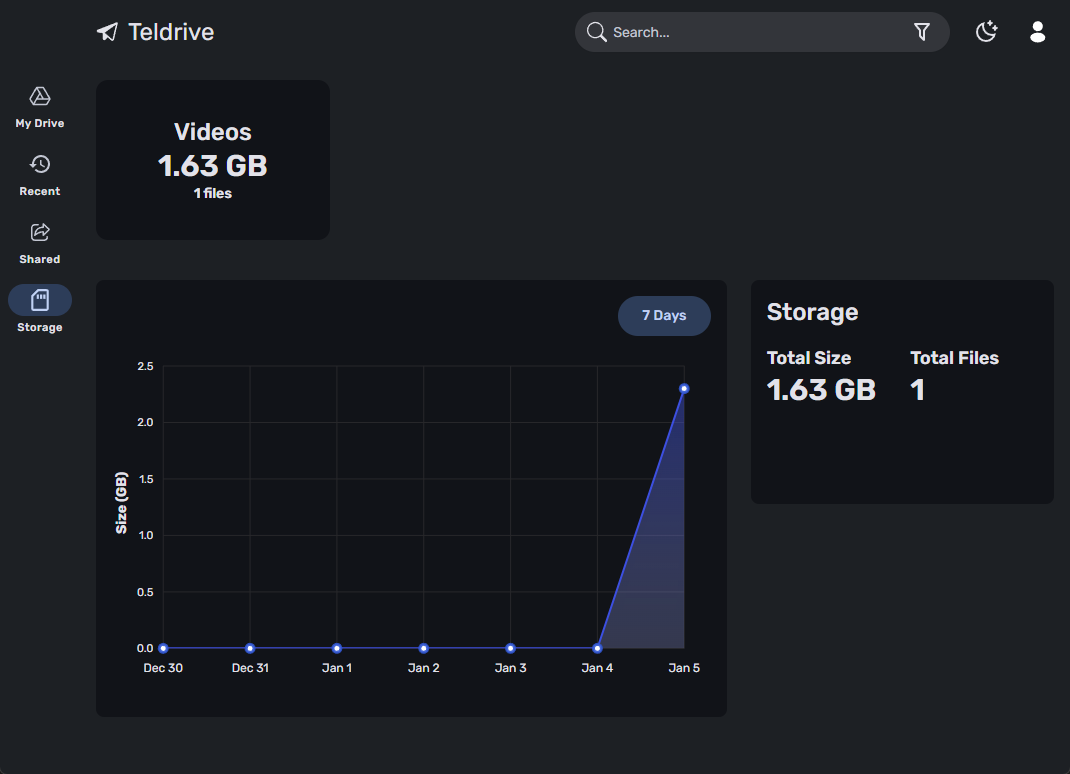
한편 파일 삭제를 해보았는데 실제로 채널에 반영되지는 않았습니다.
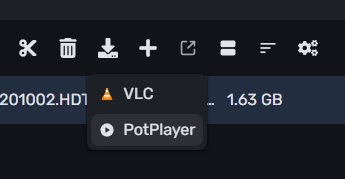
미디어의 경우 브라우저 내장 메뉴를 가지고 있으며, 아래와 같이 플레이됩니다.


weburl 을 통해 팟플레이어로 재생도 가능합니다.
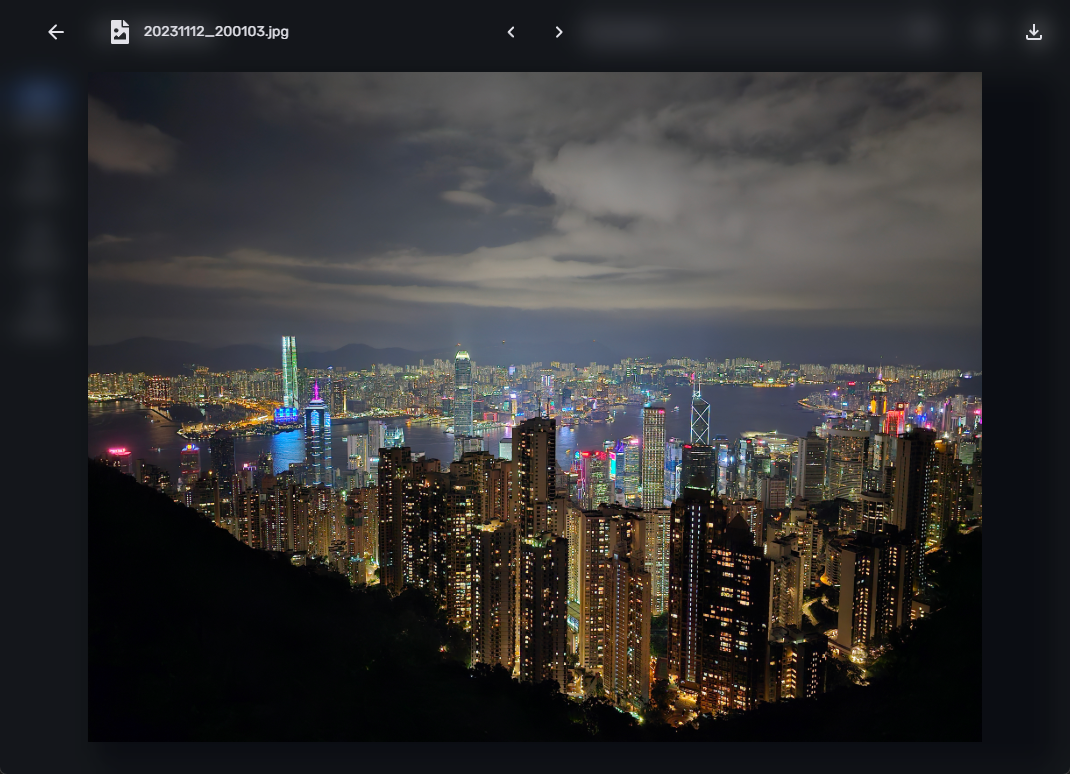
사진은 아래와 같이 표시됩니다.
6. rclone mod 버전 설치
rclone 의 경우 대부분 환경에서 싱글 바이너리로 잘 동작하기 때문에 따로 docker 로 올리지 않았습니다.
바이너리 실행으로 작업해보겠습니다.
rclone 공식버전에서는 지원되지 않습니다. teldrive 연결 기능이 추가된 mod 버전을 사용해야합니다.
아래 주소에서 각 아키텍쳐에 맞는 버전을 다운받으실 수 있습니다.
https://github.com/tgdrive/rclone/releases
| root@debian:/opt/teldrive/rclone# wget https://github.com/tgdrive/rclone/release s/download/v1.68.3/rclone-v1.68.3-linux-amd64.zip |
| root@debian:/opt/teldrive/rclone# unzip rclone-v1.68.3-linux-amd64.zip Archive: rclone-v1.68.3-linux-amd64.zip creating: rclone-v1.68.3-linux-amd64/ inflating: rclone-v1.68.3-linux-amd64/rclone inflating: rclone-v1.68.3-linux-amd64/rclone.1 inflating: rclone-v1.68.3-linux-amd64/README.txt inflating: rclone-v1.68.3-linux-amd64/README.html root@debian:/opt/teldrive/rclone# mv rclone-v1.68.3-linux-amd64/rclone . root@debian:/opt/teldrive/rclone# rm -rf rclone-v1.68.3-linux-amd64* |
| root@debian:/opt/teldrive/rclone# chmod a+x rclone root@debian:/opt/teldrive/rclone# rclone Usage: rclone [flags] rclone [command] Available Commands: about Get quota information from the remote. |
7. rclone mod 버전과 연동하기
아래의 config 파일을 생성합니다.
| root@debian:/opt/teldrive/rclone# touch rclone.conf root@debian:/opt/teldrive/rclone# cat rclone.conf [teldrive] type = teldrive api_host = http://localhost:8081 access_token = chunk_size = 2000M upload_concurrency = 4 encrypt_files = false random_chunk_name = false |
액세스 토큰은 teldrive 웹브라우저에 쿠키를 보시면 확인하실 수 있습니다.
아래 플러그인을 설치하여 teldrive 웹 페이지에서 access-token 을 확인하실 수 있습니다.

ls 명령을 돌려보도록 하겠습니다.
| root@debian:/opt/teldrive/rclone# ./rclone --config rclone.conf ls teldrive: 1748339180 video/6. Girls.Generation.Oh.4in1.201002.HDTV.HEVC.2160p.120fps.DTSES.6.1ch.mkv.mp4 |
마운트를 해보겠습니다.
| root@debian:/opt/teldrive/rclone# ./rclone --config rclone.conf mount teldrive: mount/ root@debian:/opt/teldrive/rclone/mount# df -h | grep teldrive teldrive: 1.0P 0 1.0P 0% /opt/teldrive/rclone/mount |
8. 마운트 옵션 최적화
본래 cloud 드라이브 연결할 경우, 암호화를 하는 것이 일반적이나, teldrive 의 경우 암호화로 인한 성능 손실이 있다고 하여 따로 적용하지 않기로 했습니다.
- 암호화
공식문서에 따르면 파일의 암호화는 teldrive 자체에서 하는게 낫다고 합니다. rclone crypt로 감싸지 말라고 나와있네요.
마운트의 경우 아래와 같이 스크립트를 작성하여 마운트 해봅니다.
| root@debian:/opt/scripts# cat init_teldrive.sh #/bin/bash umount -l /media/teldrive # rclone teldrive mount nohup /opt/teldrive/rclone/rclone --config /opt/teldrive/rclone/rclone.conf mount teldrive: /media/teldrive \ --umask 000 \ --allow-other \ --allow-non-empty \ --cache-dir=/media/temp/rclone_cache/teldrive \ --log-level INFO \ --syslog \ --vfs-read-chunk-size=2000M \ --vfs-cache-mode full \ --vfs-cache-max-size 100G \ --vfs-cache-max-age 86400h \ --poll-interval 60s \ --vfs-read-ahead 2000M \ --rc \ --rc-no-auth \ --vfs-fast-fingerprint \ --rc-addr 127.0.0.1:55002 < /dev/null > /dev/null 2>&1 & |
| #/bin/bash # 시작하기 전에 umount 한번 해줍니다. umount -l /media/teldrive # rclone teldrive mount nohup /opt/teldrive/rclone/rclone --config /opt/teldrive/rclone/rclone.conf mount teldrive: /media/teldrive \ --umask 000 \ --allow-other \ --allow-non-empty \ # vfs cache 경로를 지정합니다. --cache-dir=/media/temp/rclone_cache/teldrive \ --log-level INFO \ --syslog \ # teldrive 에서 업로드 청크를 2000M 으로 설정했기 때문에 이렇게 설정하였씁습니다. --vfs-read-chunk-size=2000M \ --vfs-cache-mode full \ --vfs-cache-max-size 100G \ --vfs-cache-max-age 86400h \ --poll-interval 60s \ # 마찬가지입니다. --vfs-read-ahead 2000M \ --rc \ --rc-no-auth \ --vfs-fast-fingerprint \ --rc-addr 127.0.0.1:55002 < /dev/null > /dev/null 2>&1 & |
이전에 구글드라이브의 경우 vfs full 모드를 사용하되, union-fs 나 merge-fs 로 ro rw / merged 이렇게 3개의 폴더를 사용해서 마운트를 하였는데요. 요즘에는 vfs 자체에 파일을 써도 큰 문제가 생기지 않는다고 하여 바로 사용해보도록 하겠습니다.
| root@debian:/opt/plex# df -h | grep teldrive teldrive: 1.0P 0 1.0P 0% /media/teldrive |
9. 파일 업로드 속도
10. PLEX 연동
'서버 > 리눅스 서버' 카테고리의 다른 글
| Wireguard 를 활용한 원격지 서브넷 접근 / 주말농장 4G 인터넷 USB 핫스팟 (1) | 2025.07.10 |
|---|---|
| Linux XFCE4 환경에서 Firefox Titlebar 제거 (0) | 2025.06.21 |
| 8T 시게이트 바라쿠다 : badblocks / gpt 파티션 테이블 생성 및 마운트 (371) | 2024.05.09 |
| 오리콘 5베이 DAS / 8TB 시게이트 바라쿠다 드래곤볼 진행기 (426) | 2024.05.06 |
| 인텔 11세대 PLEX HW 트랜스코딩 안되는 문제 수정 (458) | 2023.05.29 |


댓글